Showing posts with label just cute. Show all posts

Friday, January 3, 2014

Arm-Knitting

I love the look of infinity scarves, but don't really consider myself a scarf-kind-of-gal. I get the Michael's updates in my inbox and saw a tutorial for them--a 30-Minute Infinity Scarf (using your arms to do the knitting!) and thought maybe I wouldn't delete that e-mail just in case I want to try it later. After seeing a friend post a picture of her finished project, I figured I would give it a try (and I had no school to prepare for and a quiet evening with all the kiddos in bed and hubby sick. . .). The video I used is found here--and it is GOOD!
 
See me in front of my computer? Used this tutorial to a T (well, except for using the same yarn. . .I'm not sure the # of how bulky my yarn was, but it was bulky!)! Casted on 12 on my arm and went from there. . .
 My first few rows. . .
 Mid project.. .and my yarn bag. . .
 My backside. . .ready to "sew" it together.
 And then my finished project. It took me an hour as I followed along with a tutorial video.
And I decided it was TOO bulky. I'm not experiencing a HUGE winter storm or severe cold weather, so. . .the next day I took it all apart (took me 15 minutes) and made it again (in a half hour this time!) with only 8 casted on my arm. 
And here is finished project  deux!
I think I might try again using 12 cast-ons, but not such bulky yarn to see how that will turn out. . .
Use the link above to go learn to make your own!

Sunday, July 8, 2012

felt flowers for her hair

It was my daughter's birthday a bit ago and she knows all about parties because of her older brother.
So whenever her birthday comes along, she had a long LIST of things to do!
But we keep it small--and crafty! Here is what we did:
felt flowers on headbands or barrettes.
My sister and I had made some cute rosettes out of felt to put on headbands or barrettes once, and I thought they were cute, so I kinda went off of that idea and made these layered felt flowers.
(supplies above)
First I found all the different colours of felt I had in the house.
Then I found some flower patterns on google. These ones were great! I also found more "daisy" type ones with pointed petals as well. I sided them differently and then started tracing and cutting!
 Then I chose a few to try--pink and grey for now. I layered them up. Now, you can just layer them and glue them--some of my daughter's friends did that. These flowers were bigger, so I put one tiny "x" stitch in the middle (see the yellow?) to gather them just a bit.
 Next went the rhinestone. . .
Oh the girls were in heaven with those things!!!
 And then finally the little circle patch to help glue it onto the headband.
I gave the girls a choice--so here is how it is if they wanted to use a barrette instead.

I wish I had taken pictures of the ones they had finished/made. Some of them were so cute! I had also cut out some tulle flowers and circles to add in and little leaves if they wanted to add those as well. They just stacked flowers and started gluing! (and then I used the glue gun to finish them all off!)
It was a cute and easy party idea!


Tuesday, March 20, 2012

Heart Garland

So. . . just to prove to you that Pinterest is not just a time-wasting activity, but results in some creativity (as simple as it may be!), here was a "craft" I did for Valentines Day as a decoration for the classroom.

First I took a whole bunch of paint chips (thank you very much local Behr supplier!) and my Super heart punch (by Recollections) and started punching away.
Next, I took a needle and embroidery floss and strung them all together (I made two garlands of 17 each), leaving about an inch between hearts. And yes, I did a pattern of light pink, dark link, medium pink as I strung them.
Then I took your regular cheap pink ribbon (again--light, dark and medium), cut it into strips, and made ties between the paint chip hearts.
And here it is!
Easy little project.
A nice bit of decoration for the classroom. . .or home. We don't really decorate for Valentine's Day at our house (although my daughter really wanted me to after making this!) Maybe next year. . .

I also made some strands of stars in this same way, only they hung down.
I used blues and yellows for that one--made 6 strands, so that there were 100 stars all together (That is a lot of punching and stringing!). I hung them in the doorway of my classroom on 100 Day. I made 5 different patters in these strands. If over the course of the day, my students could guess which one broke the pattern, they would get to pick one of my 100 treats of that day.
My frugal nature: these star strands are going to be great to decorate alongside of our "Starry Night" art projects (when studying VanGogh)

Friday, December 24, 2010

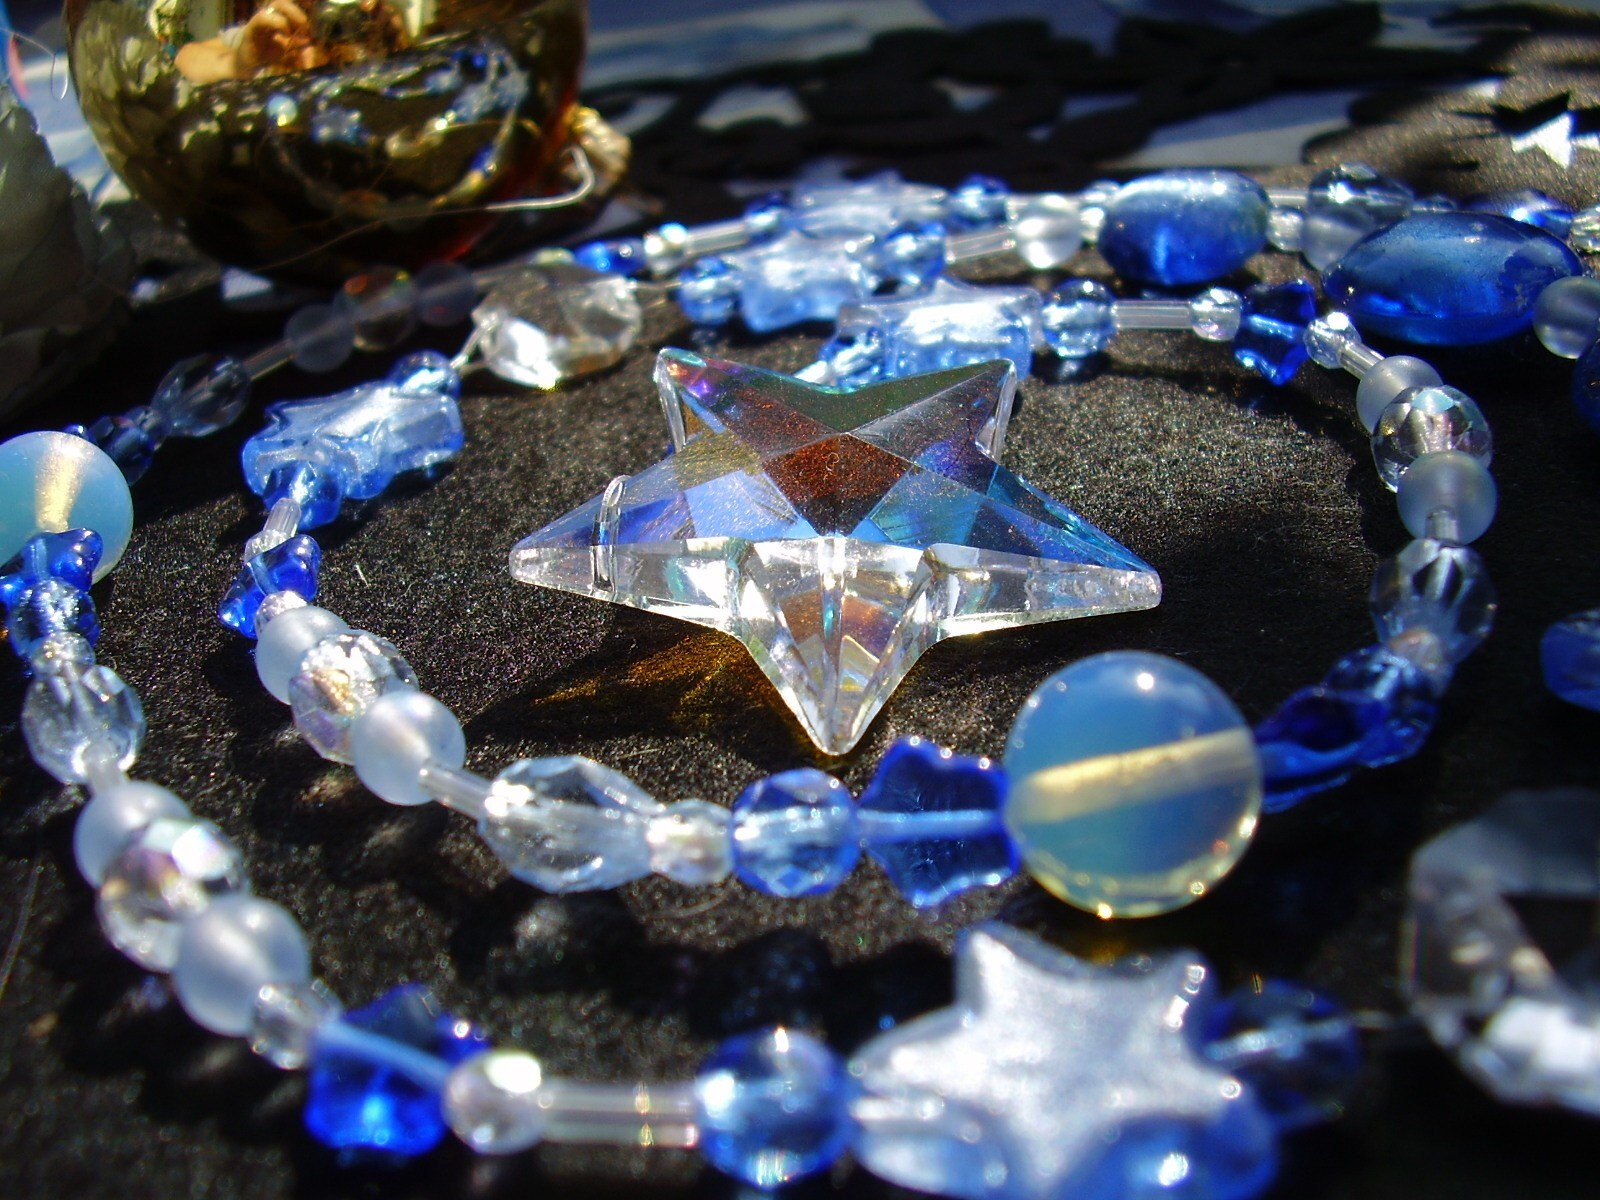
A Blue Christmas

A blue, blue Christmas.

A beautiful Christmas.

A sparkle.

A shimmer.

A blue Christmas

to share with you!


image from google images (here)

image from google images (here)


image from google images (here)


image from google images (here)

Some Blue Christmas Beautifuls to share with you!

Have a beautiful day!


Friday, December 10, 2010

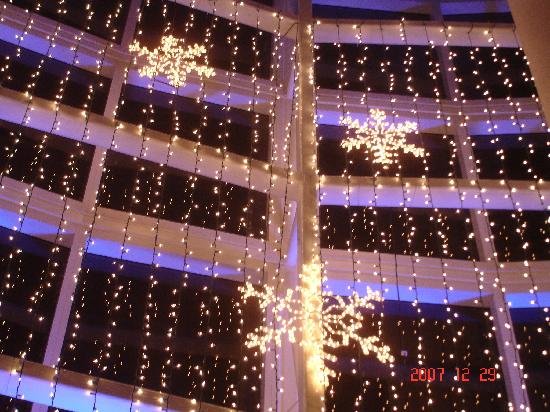
Winter Lights

(image from here)

It's not winter yet. . .

almost. . .

but just to get in the mood,
here are some inspirations

{image searching fun}

winter is coming. . .
and it will be beautiful!


image from here

image from here


image from korean times here


Waiting for winter beauty. . .

(Friday Pretties)

Friday, December 3, 2010

orange(s) for christmas

They are in the stores. . .
those {sweet} Christmas oranges.
They are gone in no time
in our home.
What about you?
Do you love orange(s)?


Some sweet Christmas oranges
for you. . .
(for your eyes--
not your taste buds.)
{Friday (Christmas) Pretties}
image from flicker here.

image found here. (I love browsing etsy for Christmas!)


image found here.


image found from here. . .LED lighted, of course!


image found here. made from real oranges!
Friday Pretties at "ILovePrettyThings": here
and also here (a giveaway too!)

Thursday, September 16, 2010

Formula Can Craft Project

Yes, I have a formula baby.

And as a result, we have too many cans that make their way into the recycle--which is good, but I wanted to try to re-use them instead. So, I looked around for a good way to re-purpose them. And I found it!

Here are two sites/tutorials I found that I used as inspiration with my kiddo. (Site one and site two). These site are very cute! These gals do such a nice job when making these cans! I thought it would be nice to organize/beautify some of my scrapbook or sewing supplies by making a few of these, or making storage for my daughter. We'll see.

For now, I wanted a craft that my son could do--something he could gift to his teacher. So. . .here is what he--okay, we--came up with!
Here are some of the supplies we thought we would use. . .most of them we did use, but changed some of it, too.
First I measured and cut the background paper for E so he could glue it on. I may have helped keep things in place a bit. Not an easy task for a little guy!
E loves my scrapbooking punches. Here is one from Michael's. He punches things out and uses them as tickets, or as food, or as. . .pretty much anything! But these ones are for the craft. He punched out yellow ones and dark blue ones.
Then he wrote the letters of his teacher on them. He even wanted to decorate them "the way mommy does to letters when they have to be fancy." (See the little dots at the end of the letters--hee-hee!) We had to re-write some of the letters because he spelled it the way he thought it was spelled, then we replaced some of the letters with the "real" ones. I did help him center things a little. (sorry--the O.C. side of me couldn't help it!)
Then this part I did. Took a nail and a hammer and made a hole in each side. Then E helped me take the "paper" of the wire (See the green and white twirly wire in the supplies photo? Yah, I re-purposed that too--just wanted the wire!).
Then we threaded the wire through, I curled it around a bit, and E went through my scrap box to find blue and yellow things to tie. So, here they are:
We took some of the extra stars that were punched out and glued them together onto some embroidery floss to make the dangling stars. Cute huh? All the rest of the stars made it onto craft paper later on by both E and A. She loves glue.
Then we had to put in the tissue paper (yellow kind to match the blue and yellow already used) and put in the chocolates. . .(and maybe eat one or two!).
Voila! All done! And done by a almost-Kindergarten-er! (Most of it anyway!) See how easy it is? You can try it too--if you need any extra formula cans, we go through one or two every week! {smile}

Tuesday, January 26, 2010

Human love and the delights of friendship, out of which are built the memories that endure, are also to be treasured up as hints of what shall be here after.

-Bede Jarrett
Picture from http:www//onesickmother.typepad.com

Monday, January 11, 2010

Olympic giveaway. . .

My colleague over at Bluebird Notes is having a cute little Olympic giveaway! Go on over there and check out her adorable blog and the giveaway! Visit there before January 14! Happy Olympics all!

I couldn't copy her adorable photos onto my blog, so
this image is from: http://yulianatjie.files.wordpress.com/2009/12/mascots1.jpg

Friday, December 18, 2009

Christmas Cute

I thought this was so cute, that I wanted to share this with you. . .
One of my colleagues made this. . .a Christmas Kabob! Very creative; very cute!

Merry Christmas! (And happy Christmas vacation for me!!!)

Monday, November 30, 2009

Weekend in LaConnor

This past weekend my hubby and I went away to La Connor. After living in Washington for a few plus years, this is one area I had never been to. so now was a perfect time to check it out! We had the chance to walk around the town and bay and visit the stores, shops and artisans who make this town so unique.


This is the first signs of Christmas we saw. . .this is the Bed and Breakfast we stayed at: The Wild Iris Inn. It was absolutely beautiful! The lobby and gathering room was decked out for the Christmas season and so cozy.
We ate dinner at this restaurant, Seeds Bistro and Bar.
Here are some of the pictures from walking around the town. . .just some of the things we saw.
Fire museum photo for my hubby.

This was my favourite shop. When A was a baby, she had a cute little bunny outfit and blanket from this store. They make so many great story books, clothes items and of course some vintage-type bunnies. It is designed like a great big nursery with the "workshop" in the back. Very cute!
And here are a few more pictures of The Wild Iris.

Above is our welcome in our room. This place was absolutely amazing! Everything was placed so perfectly. It was so warm and cozy. . . our room had its own small deck and the view wasn't so bad either--we sure lucked out with having some sunshine fr the weekend amidst all the usual rain for this time of year! And the food was phenomenal! We were greeted with these lovely flowers and cookies (you have to understand--these cookies were the size of a pie!And delish!) In the morning we had a two course breakfast. The owners/staff were so friendly and warm. i would definitely recommend this place to anyone who needs a weekend away!